Documentation Index
Fetch the complete documentation index at: https://docs.vidol.chat/llms.txt
Use this file to discover all available pages before exploring further.
 Ollama is a powerful framework for running large language models (LLMs) locally, supporting various models including Llama 2, Mistral, and more. Now, LobeVidol has integrated with Ollama, which means you can easily use the language models provided by Ollama in LobeVidol to enhance your applications.
This document will guide you on how to use Ollama in LobeVidol:
Ollama is a powerful framework for running large language models (LLMs) locally, supporting various models including Llama 2, Mistral, and more. Now, LobeVidol has integrated with Ollama, which means you can easily use the language models provided by Ollama in LobeVidol to enhance your applications.
This document will guide you on how to use Ollama in LobeVidol:
Using Ollama on macOS
Install Ollama Locally
Download Ollama for macOS and unzip it to install.
Configure Ollama for Cross-Origin Access
Due to Ollama’s default configuration, it is set to allow local access only at startup, so cross-origin access and port listening require additional environment variable settings for After completing the setup, you need to restart the Ollama application.
OLLAMA_ORIGINS. Use launchctl to set the environment variable: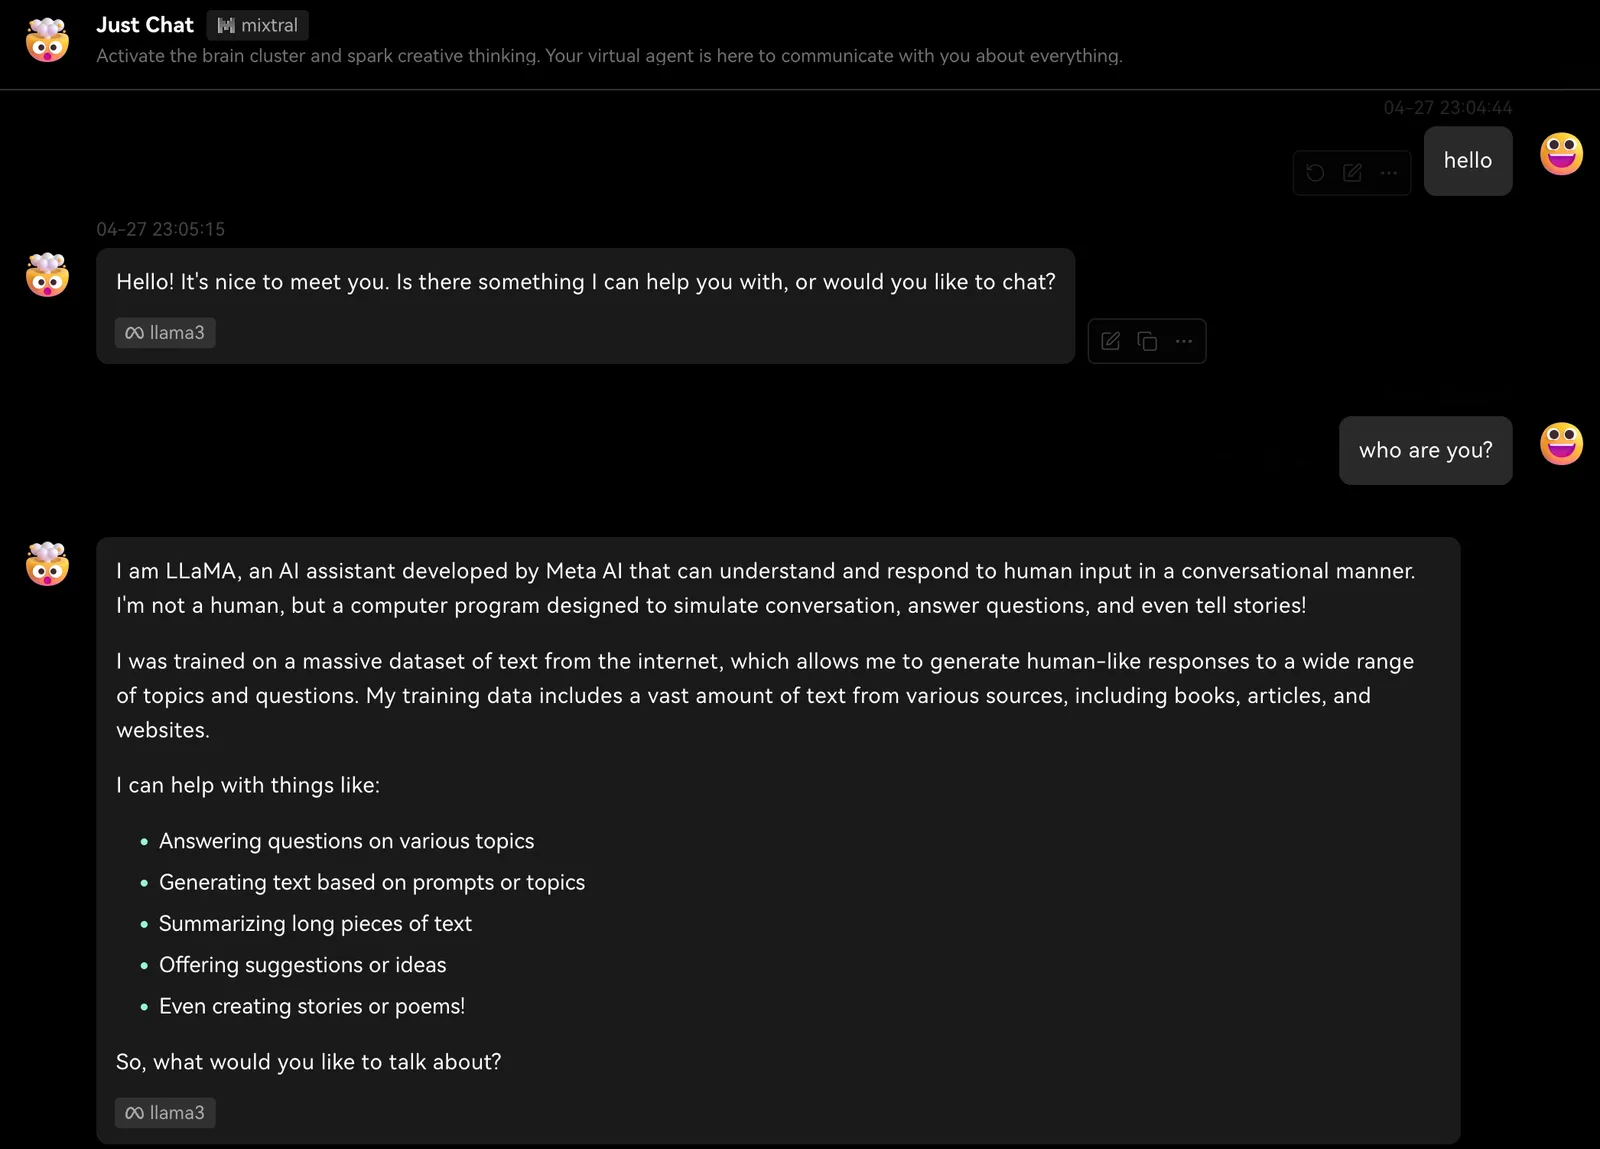
Using Ollama on Windows
Download Ollama for Windows and install it.
Due to Ollama’s default configuration, it is set to allow local access only at startup, so cross-origin access and port listening require additional environment variable settings for
OLLAMA_ORIGINS.OLLAMA_ORIGINS for your user account, setting the value to *.OK/Apply to save and then restart your system.Ollama.Using Ollama on Linux
Alternatively, you can refer to the Linux Manual Installation Guide.
Due to Ollama’s default configuration, it is set to allow local access only at startup, so cross-origin access and port listening require additional environment variable settings for
OLLAMA_ORIGINS. If Ollama is running as a systemd service, you should set the environment variables using systemctl:Deploying Ollama Using Docker
If you prefer to use Docker, Ollama also provides an official Docker image, which you can pull using the following command:
Due to Ollama’s default configuration, it is set to allow local access only at startup, so cross-origin access and port listening require additional environment variable settings for
OLLAMA_ORIGINS.If Ollama is running as a Docker container, you can add the environment variable to the
docker run command.docker run -d --gpus=all -v ollama:/root/.ollama -e OLLAMA_ORIGINS="*" -p 11434:11434 --name ollama ollama/ollama
Installing Ollama Models
Ollama supports various models, and you can view the list of available models in the Ollama Library and choose the appropriate model based on your needs.Installing in LobeVidol
In LobeVidol, we have enabled some commonly used large language models by default, such as llama3, Gemma, Mistral, etc. When you select a model for interaction, we will prompt you to download that model.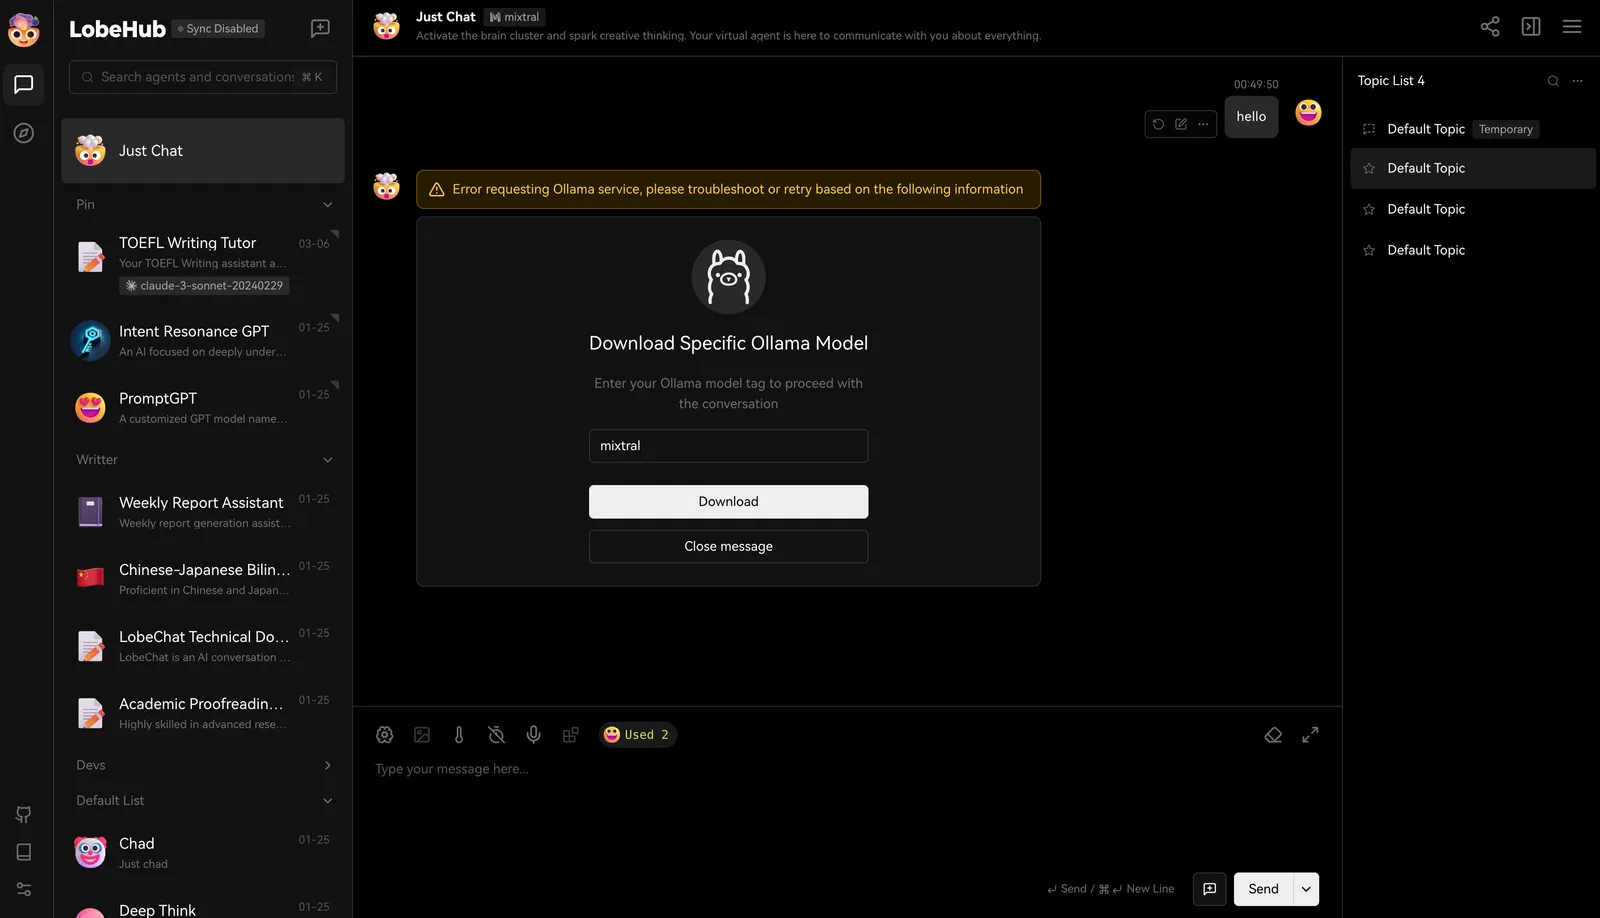 Once the download is complete, you can start the conversation.
Pulling Models Locally with Ollama
Of course, you can also install models by executing the following command in the terminal, using llama3 as an example:Custom Configuration
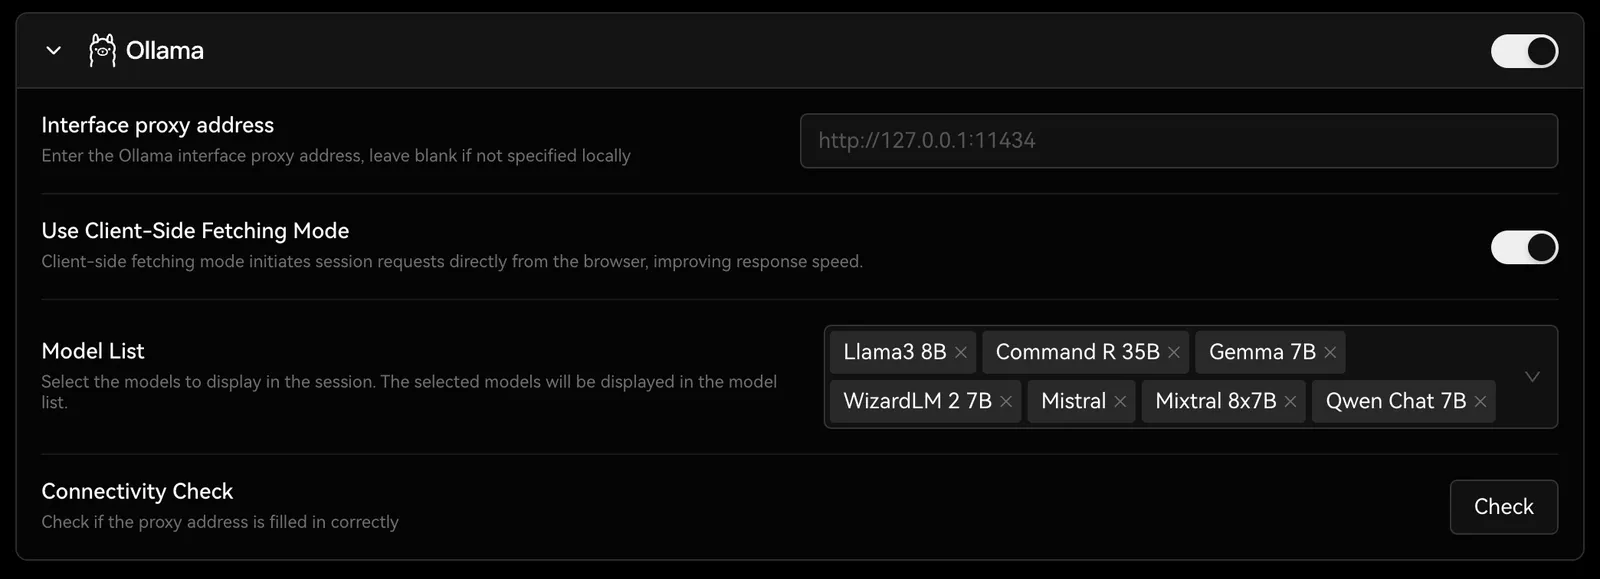
You can find the configuration options for Ollama inSettings -> Language Models, where you can configure Ollama’s proxy, model name, and more.
You can visit Integrating with Ollama to learn how to deploy LobeVidol to meet the integration requirements with Ollama.