1. Understanding VRoid Hub and the VRM Format
1.1 What is VRoid Hub?
VRoid Hub is an online platform created by Pixiv, primarily for hosting and sharing 3D virtual character models. Users can browse, download, and upload virtual avatars on this platform, supporting various applications such as V-Tubing and virtual social interactions.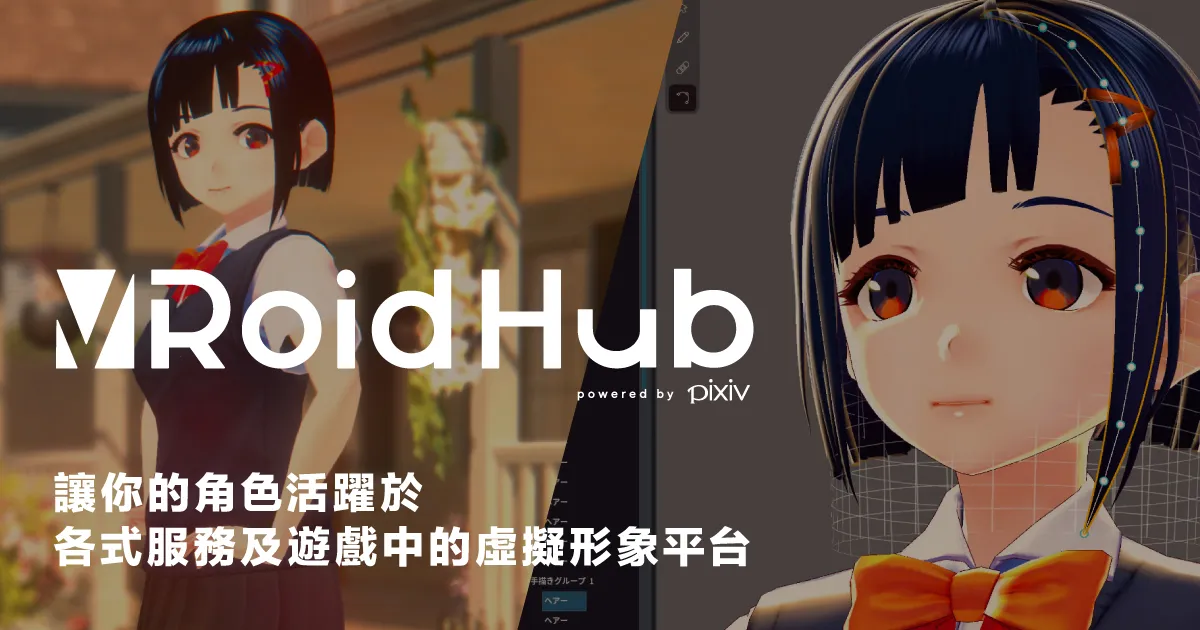
1.2 What is the VRM Format?
VRM is a file format used for handling 3D character models, characterized by the following features:- Cross-platform support: VRM models can be used in various applications.
- Rich data inclusion: Contains 3D meshes, textures, skeletons, and metadata.
- Animation support: Capable of achieving natural and smooth character animations and expressions.
2. Creating Your Own Virtual Avatar
2.1 Download VRoid Studio
To create your own virtual avatar, you first need to download VRoid Studio, a free 3D character creation tool. You can find and download the software from the official website.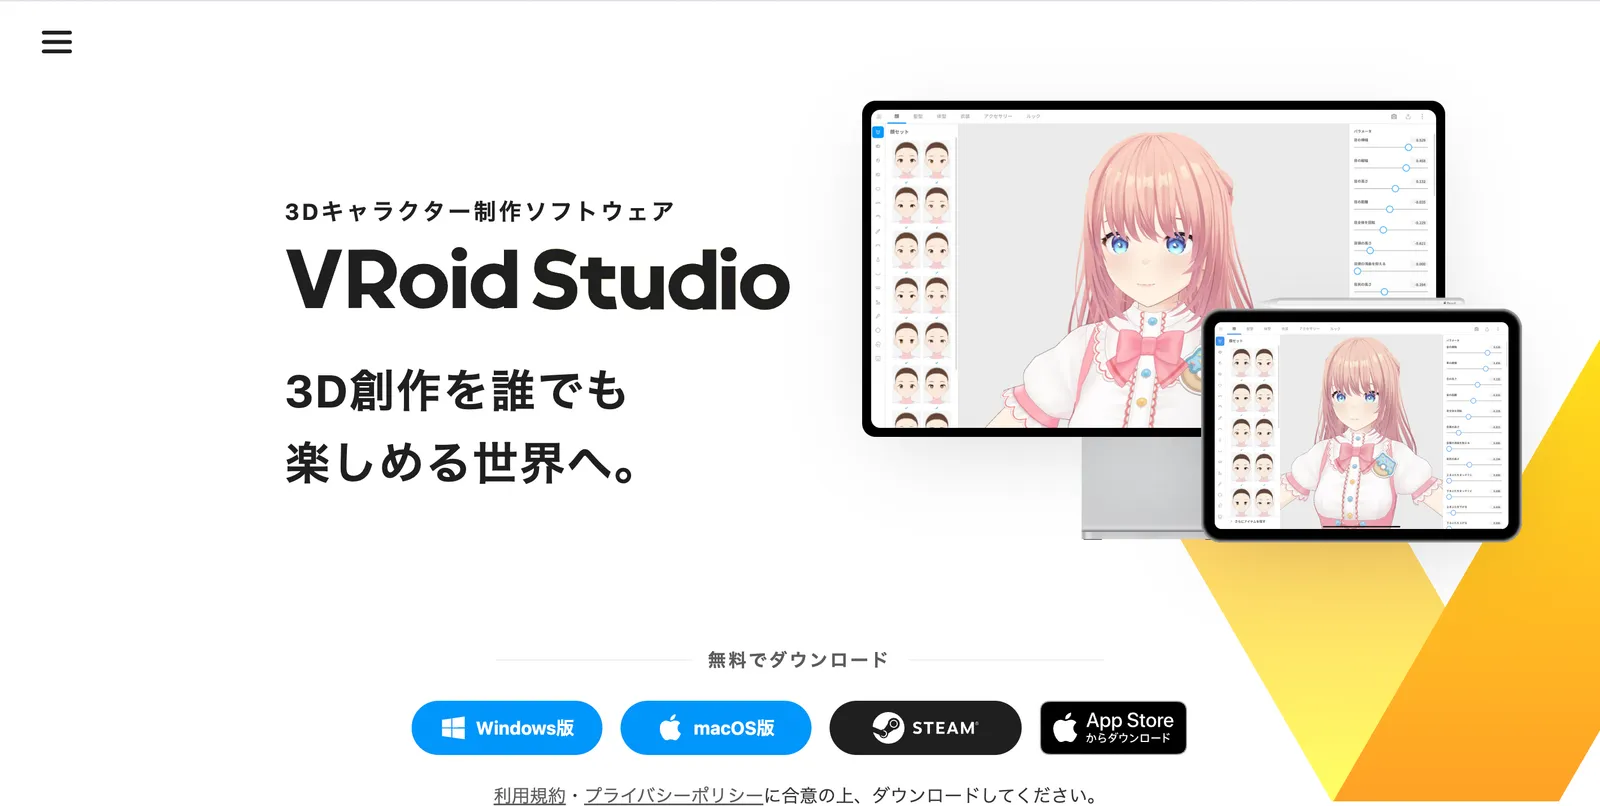
2.2 Creating Your Avatar
- Install and Open VRoid Studio: After installation, launch the software.
- Create a New Model:
- Click the “New Model” button.
- Select the gender (male or female) and other basic settings.
- Customize Appearance:
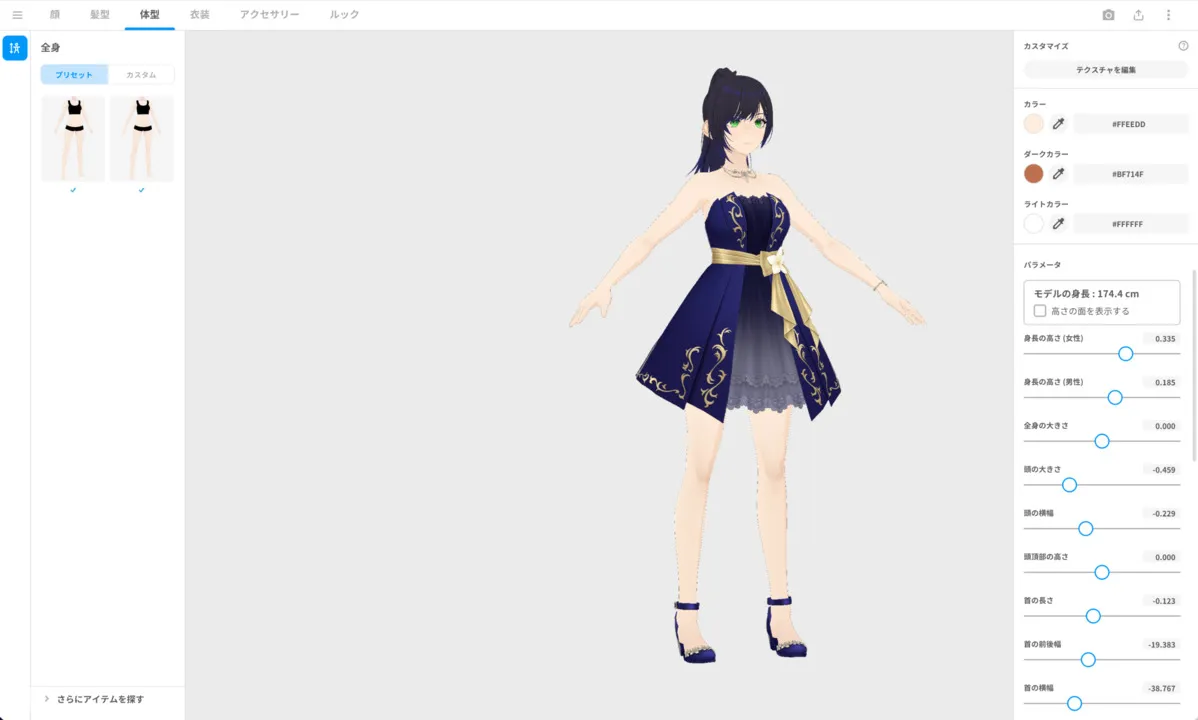
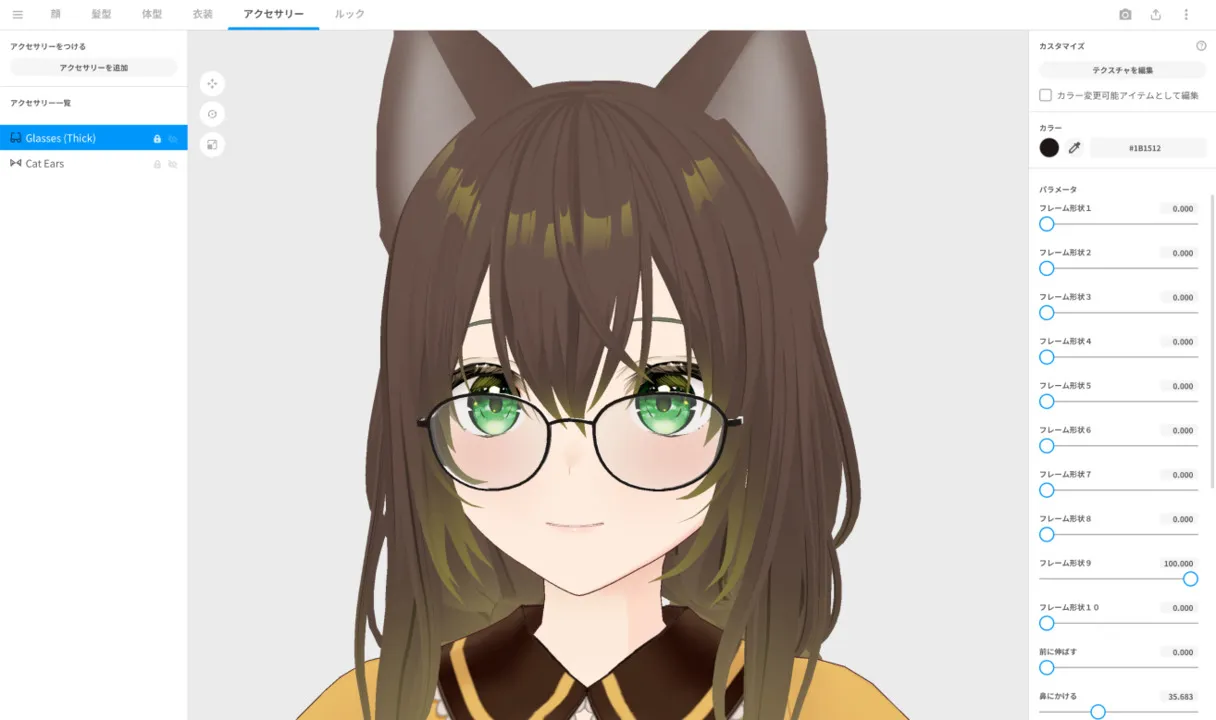
- Facial Settings: Adjust facial features and shape.
- Hairstyle Settings: Choose or customize a hairstyle.
- Clothing Settings: Select clothing styles and adjust colors and details.
2.3 Exporting the Model
Once customization is complete, you can export the model in VRM format:- Click the “Export” button, choose the save path, and confirm the export.
3. Uploading to VRoid Hub
3.1 Register a VRoid Hub Account
If you do not have an account yet, you need to register for a free account on VRoid Hub. After registration, log in to your account.3.2 Uploading the Model
- Go to the Upload Page: After logging in, click the “Upload” button on the page.
- Select File: Choose the recently exported VRM file for upload.
- Fill in Information:
- Add the model name, description, and tags.
- Ensure you select the appropriate license agreement to allow your model to be used for commercial purposes.
3.3 Confirm Upload
After completing the above steps, click to confirm the upload. Your model will be added to your profile and can be browsed and downloaded by other users.4. Searching and Downloading Free Avatars
4.1 Browsing VRoid Hub
On the homepage of VRoid Hub, you can search for available avatars using the search box or browse through categories. Make sure to use filters to select “Free” and “Available for Commercial Use” options to find eligible models.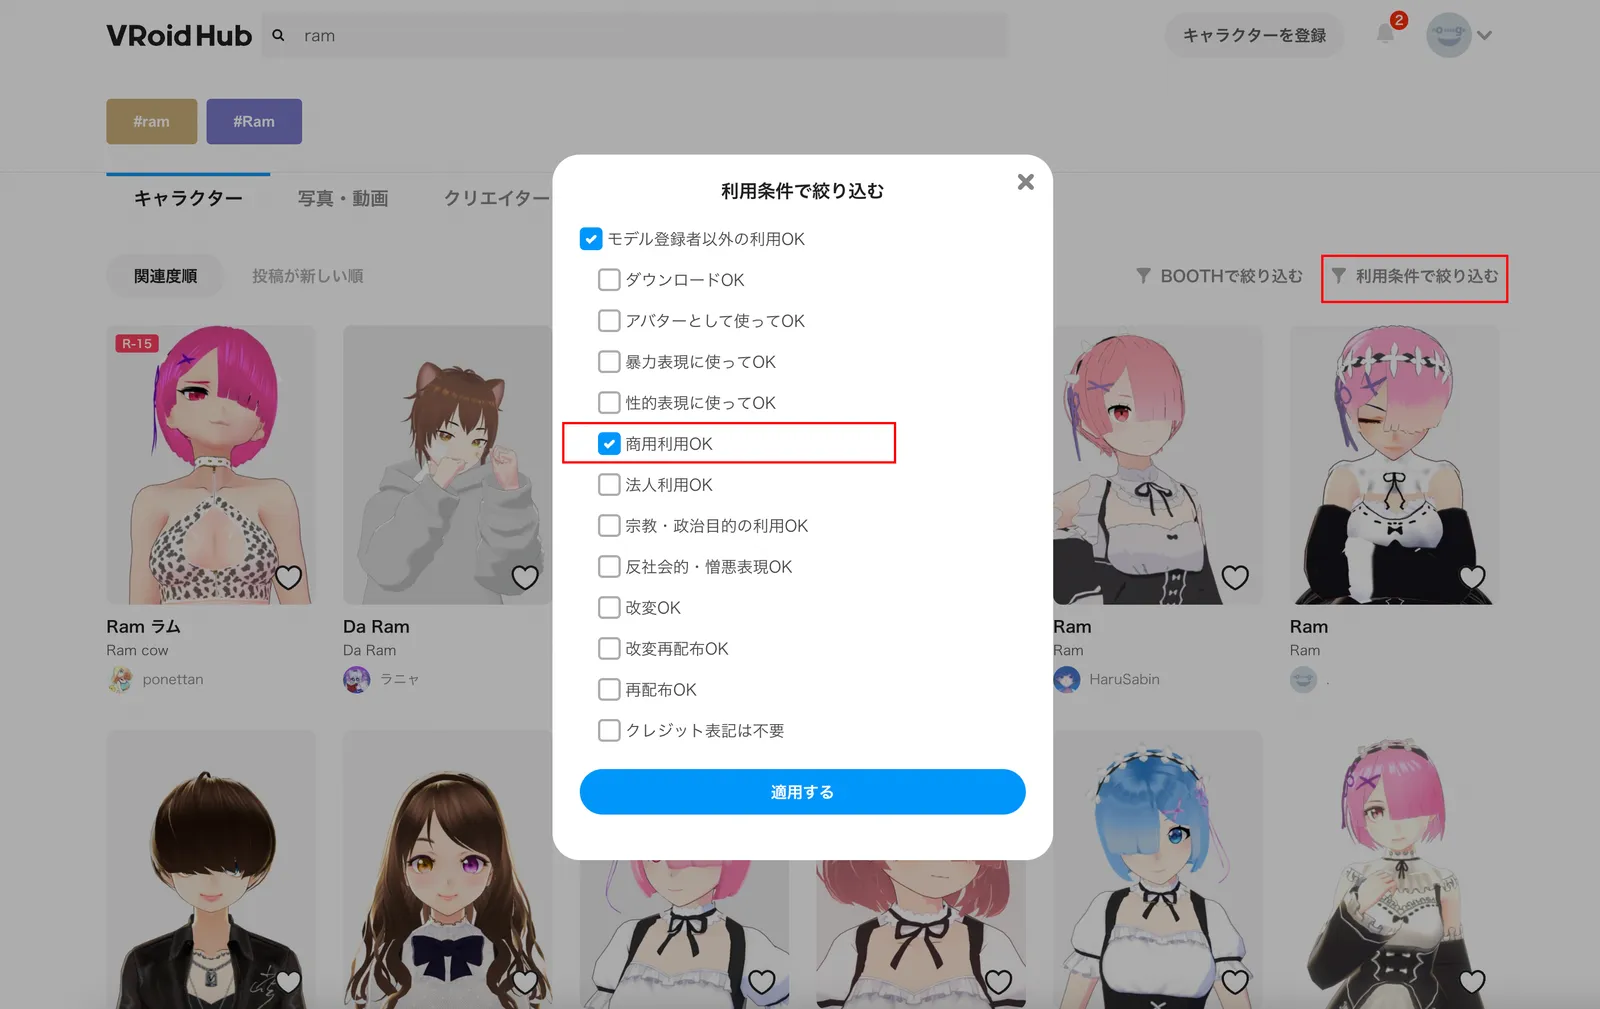
4.2 Downloading Models
- Select a Model: After finding an avatar of interest, click to enter its detail page.
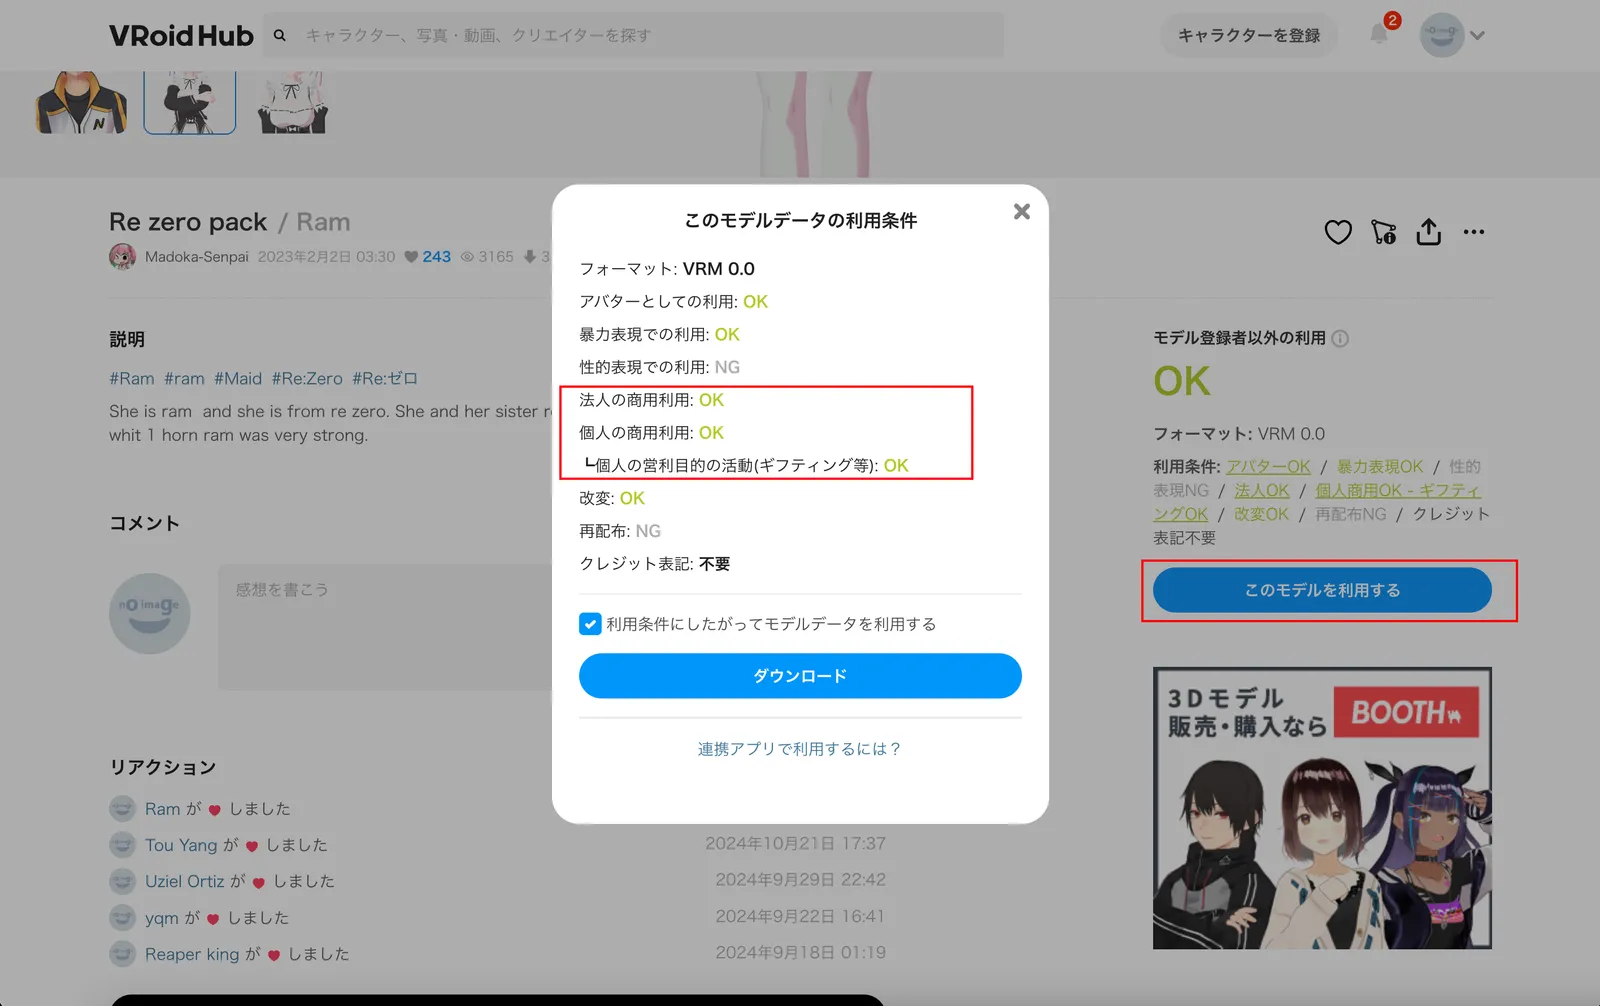
- Check License Agreement: Ensure the model is marked as “Available for Commercial Use.”
- Click Download: Find the download button to save the model to your computer.
References
References
[1] https://www.douyin.com/shipin/7291539323123173432
[2] https://www.douyin.com/shipin/7357720781213747226
[3] https://aws.amazon.com/cn/getting-started/hands-on/build-a-vtubing-app-with-amazon-ivs-and-vroid/
[4] https://avatar.viverse.com/zh-TW/avatar/what-is-vrm
[5] https://tips.clip-studio.com/zh-tw/articles/3388
[6] https://www.87g.com/az/81153.html
[7] https://docs.vrcd.org.cn/books/vrm-vrm

